

How to Connect Your Printer to WiFi
Need help setting up your printer on WiFi? Follow these quick steps to link your device to your wireless network:
- Power on your printer and check that wireless mode is enabled.
- On the control panel, open the network or wireless settings menu.
- Choose your WiFi network and type the correct password.
- On your computer, install the printer setup tool and select “wireless connection.”
This works with most wifi-enabled printers, including refurbished ones.
Troubleshooting: Printer Won’t Connect to WiFi
If your printer refuses to connect, try the following fixes:
- Move the printer closer to the WiFi router for better signal strength.
- Restart both the router and the printer.
- Check if a firmware update is available and install it.
- Reset the printer’s network settings and reconnect from scratch.
How to Connect a Printer with USB
For a quick wired setup, connect your printer directly to your computer:
- Turn off the printer and connect the USB cable.
- Power the printer back on. Your computer should detect it automatically.
- Install the necessary drivers when prompted by your system.
- This method is ideal for laser and inkjet printers without WiFi.
Extra Tips for Smooth Printing
- Printer shows offline? – Set it as the default printer in your computer’s settings.
- Slow printing? – Check your WiFi signal or update drivers.
- Print jobs stuck? – Clear the print queue and restart the printer.
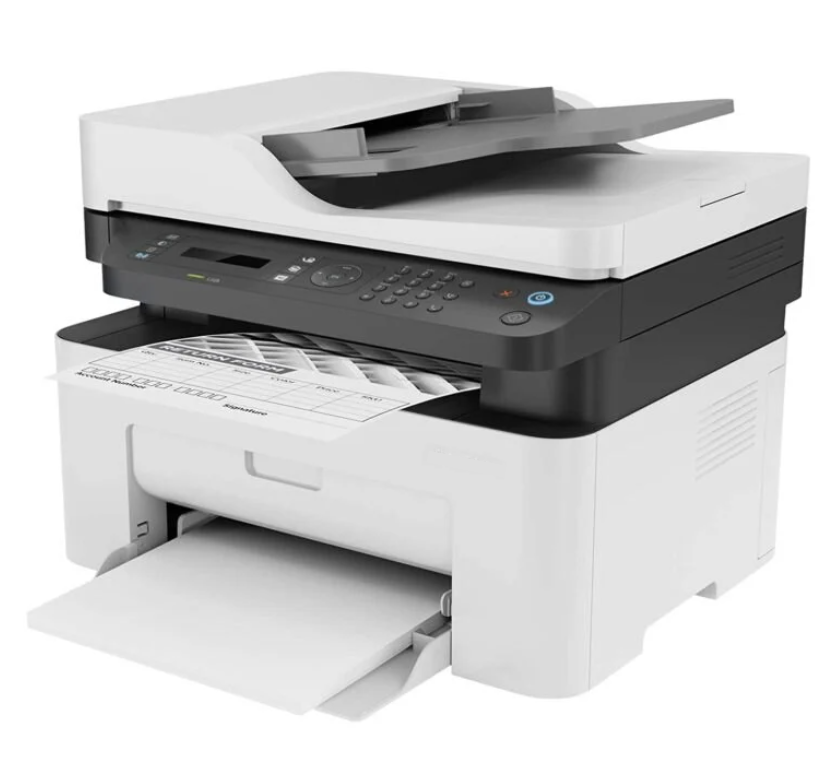
- All-in-one printer? – Use the control panel to set up scanning functions.
Why Choose Refurbished Printers
Refurbished printers are cost-effective and reliable for everyday use. Each device is carefully inspected, tested, and restored before resale—making them a smart option for students, homes, and small businesses.