


Connecting Your Printer to WiFi
Want to connect your printer to WiFi? Follow these quick steps to link your printer to your wireless network:
- Power on the printer and confirm the WiFi option is enabled.
- From the printer’s menu, open Wireless Setup or Network Settings.
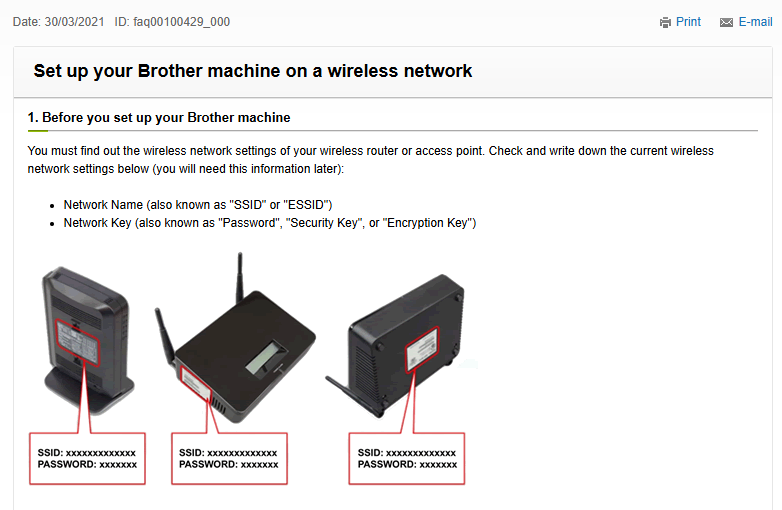
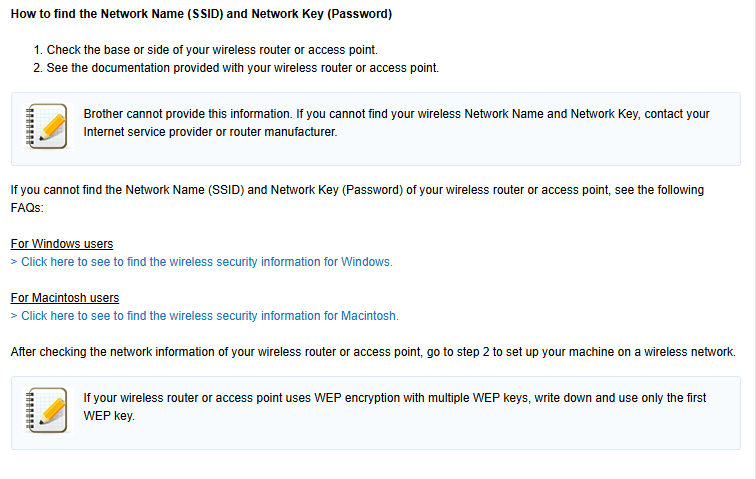
- Select your WiFi network name and enter the password.
- Run the setup software on your computer and choose the wireless connection option.
This process works for most home and office wireless or refurbished printers.
Printer Won’t Connect to WiFi?
If your printer isn’t connecting to WiFi, try these quick fixes:
- Check that your WiFi signal is strong and stable.
- Restart the printer and your internet router.
- Update the printer’s firmware if an update is available.
- Reset the printer’s wireless settings and reconnect.
Setting Up a Printer with a USB Cable
If you prefer a wired connection, here’s how to connect your printer to a computer using USB:
- Switch off the printer before plugging in the USB cable.
- Turn it back on – most systems detect the device automatically.
- If asked, install the required drivers through your operating system or the official site.
- USB setup is reliable for laser and refurbished printers when WiFi isn’t available.
Extra Tips for Smooth Printing
Keep these tips in mind for a better printing experience:
- Printer setup WiFi: Always double-check the correct SSID and password.
- Wireless printer install: Use the official software tools for best results.
- Printer offline: Reconnect the device to the same network as your PC.
- Scanning setup: Configure scan-to-PC options from the control panel.
- Refurbished printer setup: Clear past settings before connecting to a new system.
Why Buy a Refurbished Printer?
Our refurbished printers are carefully checked, cleaned, and tested to ensure quality performance. Each unit comes with a basic warranty and is ideal for students, home users, and small offices looking for affordable and reliable printing solutions.